One of the most common requests we hear in sports physical therapy is:
“What should I stretch?”
Recently, a friend called me describing hip stiffness. He felt tight in the front of his hip and noticed a pinching sensation every time he squatted or lunged. Like many athletes, he assumed he just needed better stretches or mobility drills.
But here is the truth.
Not all stiffness is something you should stretch.
Understanding this distinction is critical in sports physical therapy, especially for athletes who squat, lunge, sprint, and lift regularly.
The Difference Between Tightness and Pinching
In sports physical therapy, we often talk about closing angle versus opening angle restrictions.
Every joint has a natural end range of motion. Something always stops the movement. The key question is what is doing the stopping?
If you feel a muscular stretch at the end of a motion, that is often an opening angle restriction. Muscles may be limiting you, and targeted mobility work can help.
But if you feel a sharp pinch in the front of your hip as you descend into a squat, that is often a closing angle restriction. In simple terms, structures within the joint are approximating too early. Stretching harder into that position will not solve the problem and may even aggravate it.
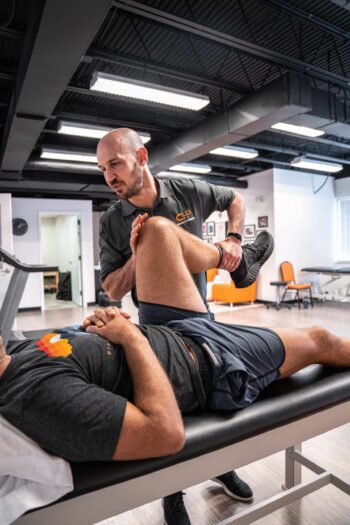
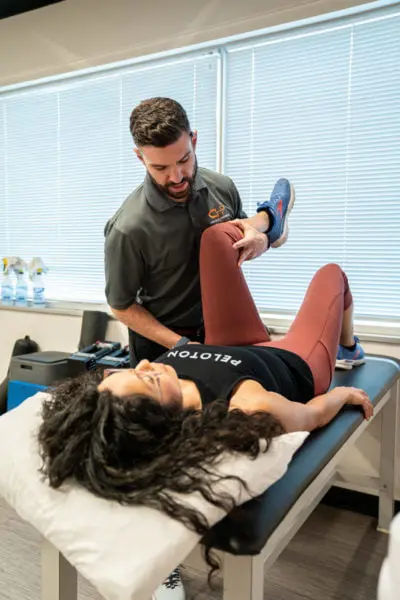
This is where proper sports physical therapy assessment makes all the difference.
The Hip “Garage” Analogy
Think of your hip like a car parking in a garage.
If there are boxes stacked in the back of the garage, the car cannot fully pull in. It sticks out the front.
Similarly, if the back of your hip is stiff, the ball of the femur can sit slightly forward in the socket. As you squat and the angle closes between your trunk and thigh, you may feel a pinch in the front of the hip.
The problem is not that the front is tight.
The problem is that the back is restricted.
In sports physical therapy, we address this by restoring posterior hip mobility and reinforcing proper mechanics with strength training. Exercises such as controlled hip mobility drills and movements like Romanian deadlifts help reposition and strengthen the hip so it can tolerate deeper ranges safely.
Why This Matters for Athletes
Athletes often default to stretching when they feel stiff. But in sports physical therapy, we know that incorrect self treatment can:
-
Waste valuable training time
-
Irritate the joint further
-
Reinforce faulty movement patterns
-
Delay return to full performance
This concept does not just apply to the hip. We frequently see similar patterns in the shoulder and the ankle, especially in athletes who lift, throw, run, or change direction at high speeds.
If you feel pinching in the front of your hip during squats or lunges, it is worth asking whether you are dealing with a joint mobility restriction rather than a muscle that needs stretching.
How Sports Physical Therapy Helps
Quality sports physical therapy is not just about giving exercises. It is about identifying what is truly limiting you.
We assess:
-
Joint mobility versus muscular restriction
-
Movement mechanics under load
-
Strength asymmetries
-
Sport specific demands
From there, we create a plan that restores mobility where it is needed and builds strength to support it.
If you are experiencing hip stiffness, pinching, or discomfort during training, do not assume stretching is the solution. The right diagnosis leads to the right intervention.
Sports physical therapy is about precision. When you address the true restriction, progress happens faster and more safely.
If you want help identifying what is limiting your movement, contact us. We will help you move better, train harder, and protect your long term performance.